Page Control and Constructor

If you are following this guide step by step, you can see how easy it is to add objects and start create your template.
You already begin to have a clearer idea about how you could create your templates, but before you get down to work on creating your template, you need to learn about the Page Control features and Constructor  features.
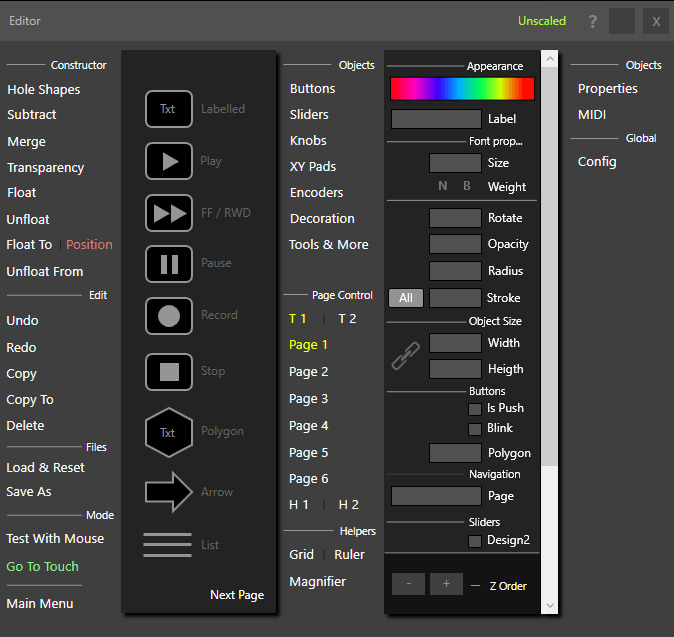
Page control:
The software has two templates to use simultaneously in the same software, you see button T1 and button T2, where T1 means template 1 and T2 means template 2. Each template has 6 pages, PAGE 1 to PAGE 6.   Each page can host all the objects and functions that the software provide.
In the bellow video you can see how work Template 1 and Template 2 and pages  for that purpose I just locate random objects on the template in order to show how work.

H1 and H2, Window Handlers:
The window handlers allows you to set the size or position of the software window to be controlled.
This is especially useful if you want control with Emulator two simultaneous programs, i.e Traktor,
and Ableton. Trough window handlers Emulator will recall the program, it will also remember the window size and location of the program window.
Uh? yes sound weird……. do not worry, just continue with the guide, you understand window handlers soon.
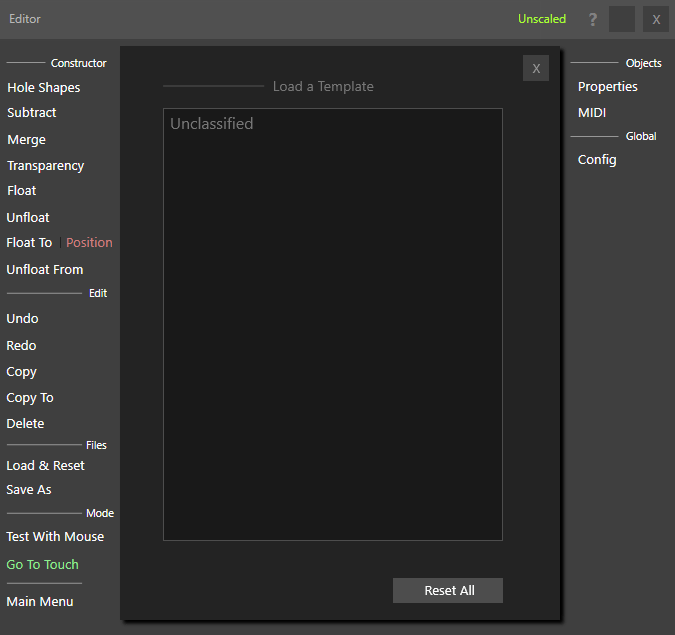
The Constructor
Hole Shapes:
Emulator lets you cut holes in the template to integrate with part of window of the software to be controlled.
This feature can reveal important parts of the underlying program inside your template. Furthermore, it allows you to interact with the underlying MIDI program under control.

In the bellow video you see how I cut holes for show vital parts of Traktor software and after that load 100% finished template and also navigate across few template pages, Traktor is already open and running under Emulator screen:

Summary of the video:
The Transparency view makes it easy to see where you need to place the hole shapes before you do any (subtracting) cutting.
Once you have positioned the shapes, you create the holes using subtract.
If you watched carefully you also saw that it is possible to hide all the Emulator software to return and work in to the desktop and return to Emulator by clicking on the top right corner orange button.

There is another function related to the creation of holes, MERGE holes.
Merging holes after they are cut is simple, and the process is exactly the same as when cutting holes.
Just place a hole shape over a hole, and press Merge.

To delete all the holes in a template at once, select  Delete from the Edit section, another menu will appear, press the Holes button in the new menu, and all of the holes in the template will be deleted.

First Steps with the Editor

Every time open the software and editor appear, you can see a template load screen, what you can use later to load and use the template or load and edit.
This time is your first time, and you probably want to start creating your template, just close the loading window and continue.

By default the editor runs in edition mode but switching to performance mode is easy.
Simply select the Go To Touch button in the editor, the editor is closed and all objects on the template react to touch events .
I order to show again the editor, just press Esc keyboard key.

The Editor contains all the tools necessary to create, and edit your templates.  Select from  buttons, sliders, knobs, halo pads, encoders, decorating objects, and other tools in the  Objects list.    Objects have properties such as label, rotation, opacity, radius, color, toggle and friction,  which you can edit.
An object that also supports MIDI will allow you to choose the MIDI  channel, MIDI CC, MIDI notes, etc.

To start adding controls to your first template, simply select an object in the editor by clicking on it, and then click on the black background which will be your work surface.

Introduction

Emulator was created with the purpose of offering a simple way to create custom touch controllers. The software is quite easy to use, but it is very important to read this guide in order to take full advantage of all its features.

You do not need a touch device to create and test your templates. All you need is a computer running Windows 10 Fall Creators Update or newer, along with a keyboard and mouse.

Before installing the software, you need to know that there is a keyboard key that is extremely important during the process of editing or creating your template: the Escape (Esc) key.

When the Esc key is pressed, the software will display the editor if it is currently closed. This action prepares the system for Edit mode.

There are no restrictions on creating or saving templates in the Trial version.

Each time the time limit is reached, if you are in the middle of creating a template, the software will automatically save the template you are currently working on in the folder:

Documents > Emulator > Templates > Unclassified

The template will be saved with the name “auto-saved,” allowing you to reopen it later and continue your work.

VERY IMPORTANT!
Emulator allows you to create templates at any screen resolution. However, templates should ideally be loaded using the same aspect ratio — and preferably the same screen resolution — that was used when the template was created, in order to prevent scaling issues.

The original resolution of the template is available on the Template Info page. You can access this information whenever you load a template or press the Save button in the editor.